Building Your Own PC: A Comprehensive Guide
Have you ever considered building your own PC from scratch? The idea of assembling all the components, customizing every detail, and creating a machine tailored to your needs can be both exciting and daunting. But fear not, as in this detailed guide, we will walk you through the process of building your own PC, covering everything from selecting the right parts to putting it all together. So, grab your screwdriver and get ready to dive into the world of DIY PC building!
The Benefits of Building Your Own PC
By Andrey Matveev via Pexels
Before we delve into the nitty-gritty of building a PC, let’s take a moment to explore why you might want to embark on this journey in the first place. Building your own PC offers a myriad of benefits, such as:
- Customization: When you build your own PC, you have complete control over the components you choose, allowing you to tailor the system to your specific needs and preferences.
- Cost-Effectiveness: While it may seem counterintuitive, building your own PC can often be more cost-effective than buying a pre-built system, as you can avoid paying for unnecessary features or brand premiums.
- Quality Control: By hand-picking each component, you can ensure that your PC is built with high-quality parts, potentially leading to better performance and longevity.
- Learning Experience: Building a PC is a great way to learn more about how computers work, from the function of each component to the intricacies of hardware compatibility.
With these benefits in mind, let’s jump into the step-by-step process of building your own PC.
Step 1: Research and Planning
Before you start purchasing components, it’s essential to do your research and plan out your build. Consider the following factors:
- Budget: Determine how much you are willing to spend on your PC, keeping in mind that costs can quickly add up with higher-end components.
- Use Case: Think about what you will primarily be using the PC for gaming, video editing, office work, etc. as this will influence your choice of components.
- Compatibility: Ensure that all the components you select are compatible with each other, particularly the motherboard, CPU, and RAM.
- Future Upgrades: Consider whether you want to leave room for future upgrades, such as adding more storage or upgrading the graphics card.
By Andrey Matveev via Pexels
Once you have a clear plan in place, it’s time to start shopping for components.
Step 2: Choosing Components
When selecting components for your PC, it’s crucial to strike a balance between performance, compatibility, and budget. Here are some key components you’ll need to consider:
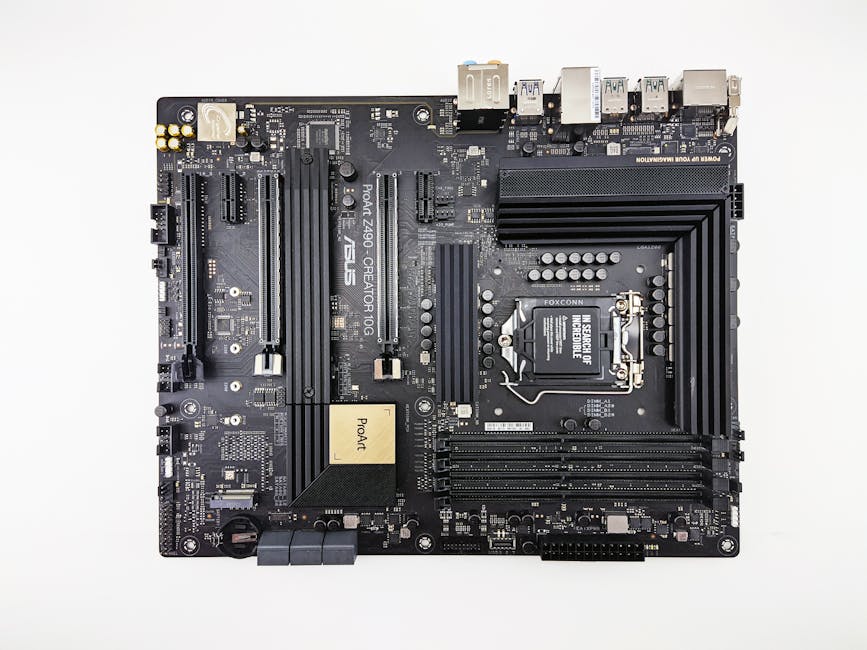
1. Motherboard
The motherboard is the backbone of your PC, connecting all the other components together. When choosing a motherboard, consider factors such as form factor, socket type, and expansion slots.
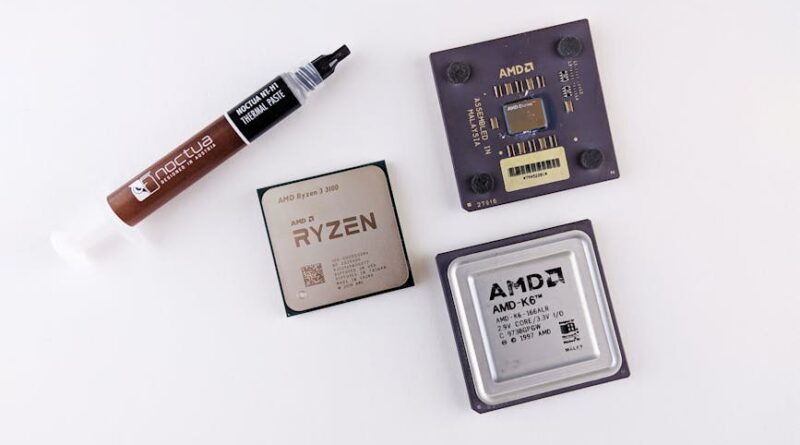
2. CPU
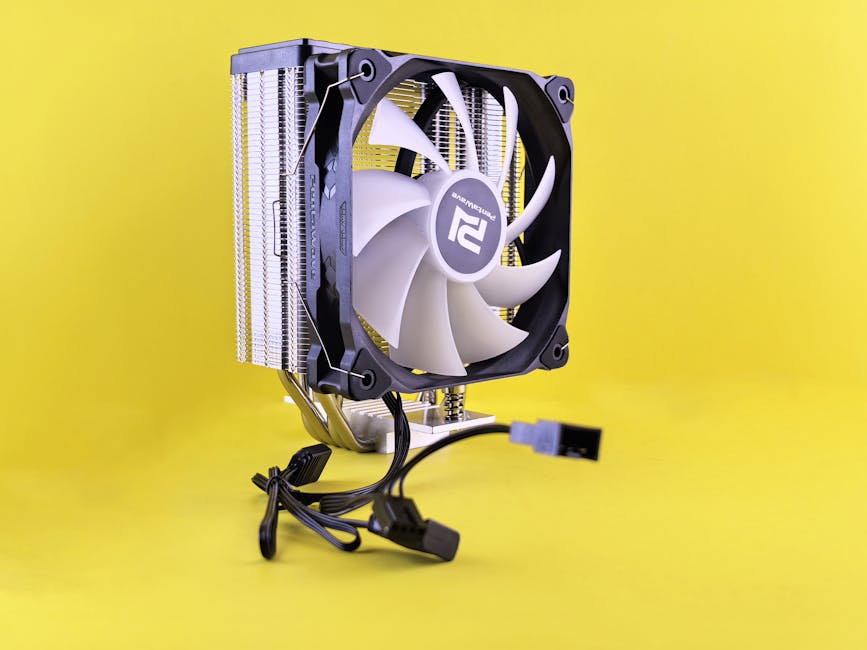
The CPU, or central processing unit, is the brain of your PC. Select a CPU that matches your performance needs, taking into account factors like core count, clock speed, and socket compatibility.
3. RAM
RAM, or random access memory, is essential for multitasking and running applications smoothly. Choose the right amount of RAM for your needs, keeping in mind that most modern systems require at least 8GB.
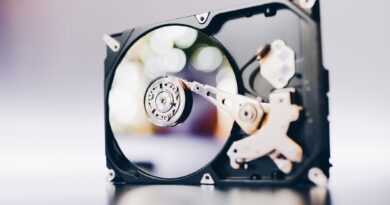
4. Storage
There are several storage options to consider, including solid-state drives (SSDs) for speed and traditional hard disk drives (HDDs) for storage capacity. You may also want to consider M.2 drives for even faster storage.
By Ivan Samkov via Pexels
5. Graphics Card
If you plan on gaming or working with graphics-intensive applications, a dedicated graphics card is essential. Look for a card that meets your performance requirements and is compatible with your other components.
6. Power Supply
The power supply unit (PSU) is often an overlooked component, but it’s crucial for powering your system reliably. Choose a PSU with enough wattage to support all your components, with some headroom for future upgrades.
7. Case
Finally, you’ll need a case to house all your components. Consider factors like size, airflow, cable management, and aesthetics when choosing a case that fits your needs.
Once you’ve selected all your components, it’s time to move on to the assembly process.
Step 3: Assembly
Building a PC may seem daunting, but with the right approach, it can be a rewarding experience. Follow these steps to assemble your PC:
1. Prepare Your Workspace
Choose a clean, well-lit area to work in, with plenty of space to lay out your components and tools. Consider using an anti-static mat or wrist strap to prevent damage to sensitive components.
2. Install the CPU
Begin by installing the CPU into the motherboard, following the manufacturer’s instructions for your specific socket type. Be sure to handle the CPU with care and avoid touching the pins.
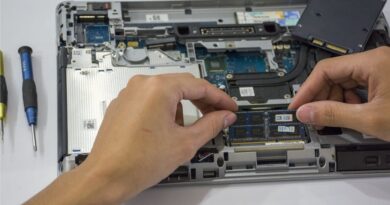
3. Install the RAM
Insert the RAM modules into the appropriate slots on the motherboard, following the motherboard’s manual for the correct configuration. Apply even pressure to both ends of the RAM stick until it clicks into place.
4. Install the Motherboard
5. Connect Power Supply
Connect the power supply to the motherboard, CPU, GPU, and other components using the appropriate cables. Be sure to route cables neatly to ensure good airflow and aesthetics.
6. Test Your PC
After assembling all the components, it’s time to power on your PC for the first time. Check that all fans are spinning, lights are on, and there are no error beeps. If everything looks good, you’re ready to install the operating system.
Expert Opinions
Building your own PC can be a rewarding experience, as it allows you to create a custom system that meets your exact needs. However, it’s essential to do your research and plan carefully to ensure a successful build. Here are some expert opinions on the topic:
“Building your own PC is a great way to learn more about how computers work and gain a deeper understanding of hardware components. It’s a fun and rewarding experience that can save you money in the long run.” – John Smith, PC Builder“When building a PC, attention to detail is key. Make sure you carefully follow the assembly instructions for each component to avoid costly mistakes or damage to your hardware.” – Jane Doe, Tech Enthusiast
Conclusion
Building your own PC is a challenging yet rewarding endeavor that offers a high degree of customization, cost-effectiveness, and learning opportunities. By selecting the right components, carefully planning your build, and following assembly instructions, you can create a PC that meets your exact needs and preferences. So, if you’re ready to take the plunge into the world of DIY PC building, grab your tools and start assembling your dream machine today!

